Spotify recently introduced a new feature in its App where you can now create a custom cover art for playlists. “We’re giving music fans the power to design and customize their own playlist cover art so their playlists can always look as good as they sound,” the company said. The feature is now rolling out for all users and here’s how you can do it.
Step 1
Make sure you are on the latest version of Spotify via the Google Play Store and then open the Spotify app.
Step 2
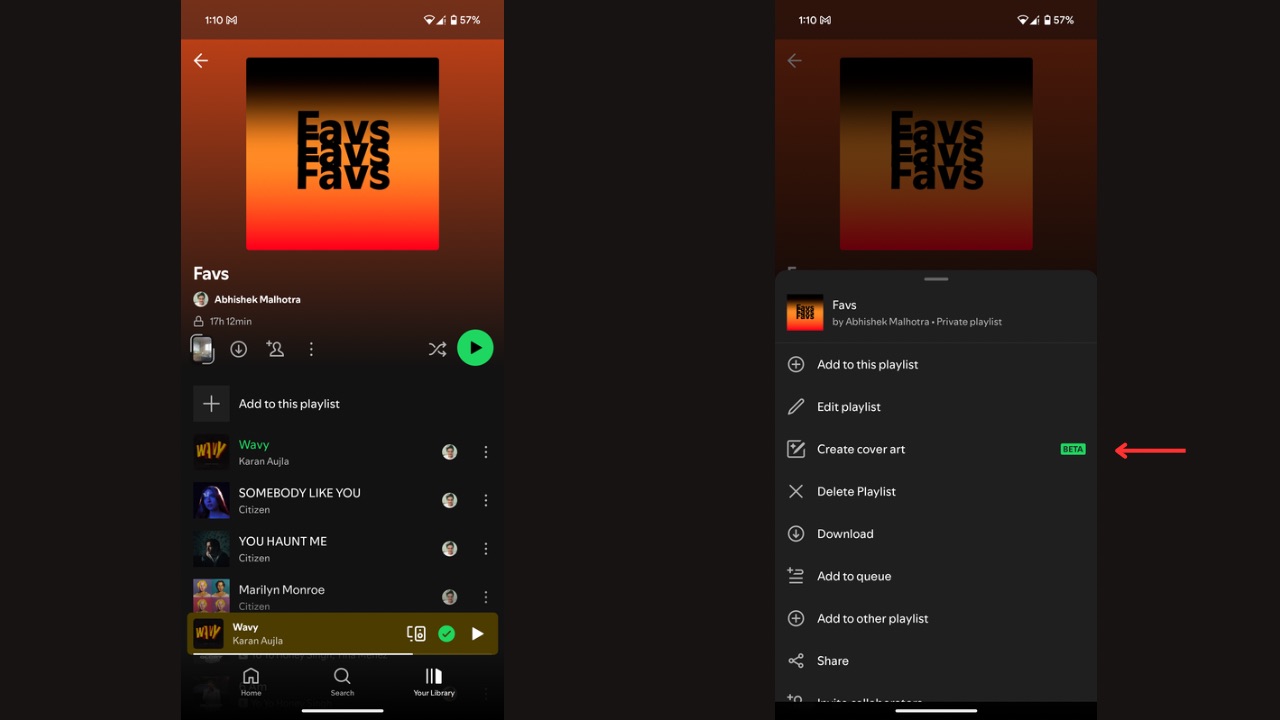
Open the playlist for which you want to create a custom cover art.
Step 3

Tap on the three-dot menu and then click on “Create cover art.”
Read More: Spotify AI Playlist is Now Available in More Regions
Step 4

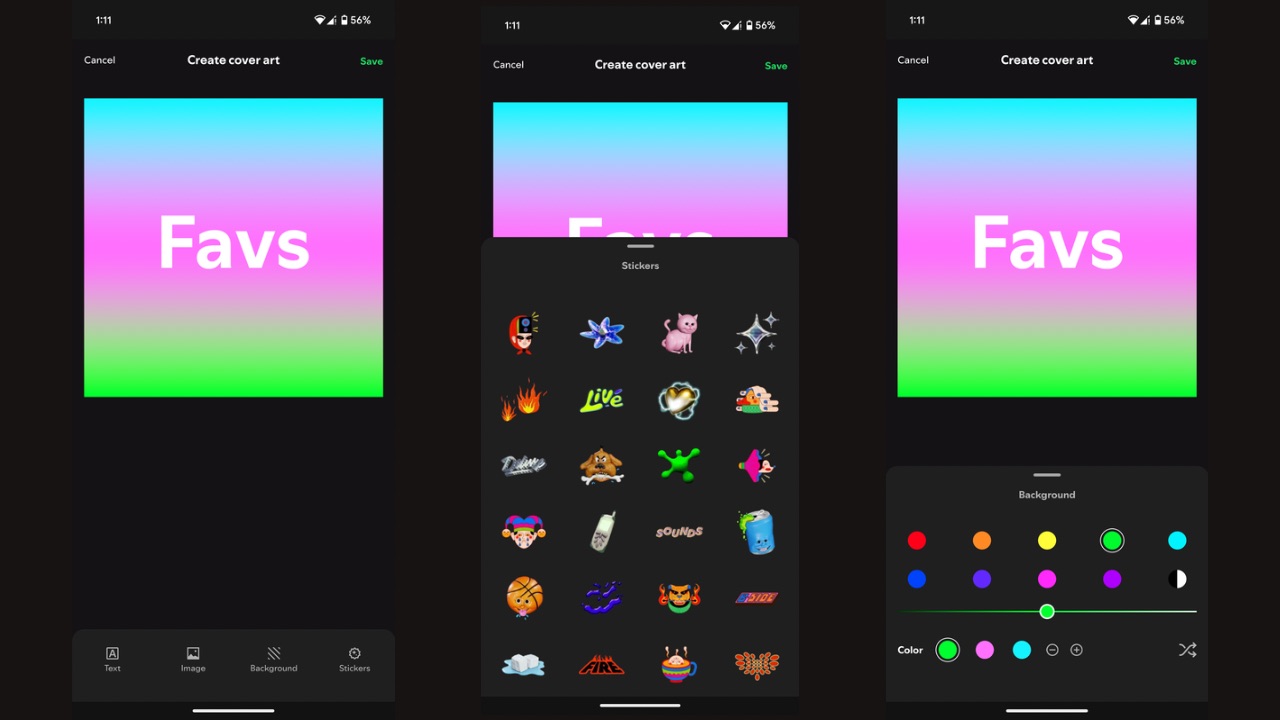
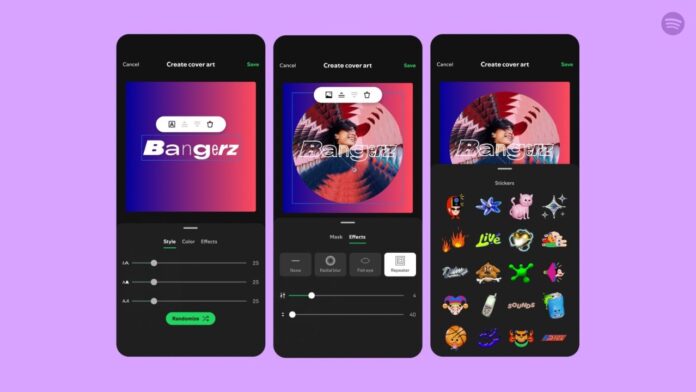
Now, create a custom cover art as per your preferences for text, image, background, and stickers.
Step 5
Tap on the green “Save” button at the top-right corner and you’ll be done.
This was how you can create a custom Cover Art for playlists in Spotify. Also, note that you can only save one custom cover art per playlist at a time, and each new cover you create will override the previous one for that specific playlist. If you’d like to create multiple covers for a playlist, make a copy of the playlist first. The easiest way to do that is to open the playlist you wish to copy, tap the three-dot menu, select “Add to other playlist,” and then tap “New playlist” to create your copy.


