With the advent of the smartphone, our reliance on these devices has skyrocketed. They’ve become an essential part of our daily lives, serving as our primary communication tool, our go-to entertainment device, and our digital companion for organizing life. However, this constant usage also means that our mobile devices can quickly accumulate dirt, germs, and grime. Cleaning your mobile phone can improve both its hygiene and performance. Here’s a comprehensive guide on how to do it right.
Materials Needed:
- Microfiber cloth
- Isopropyl alcohol (at least 70%)
- Distilled water
- Cotton swabs or toothpicks
Preparing for the Clean
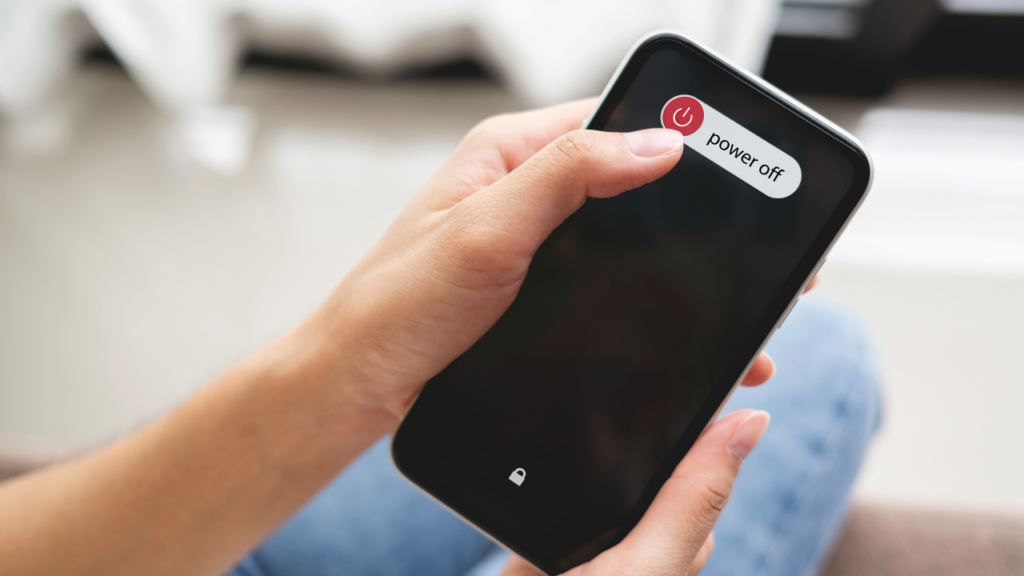
Step 1: Switch Off the Device

Always start by switching off your mobile device. It’s a necessary safety step that helps protect the electronics inside your device during the cleaning process. If possible, remove the battery and any memory or SIM cards.
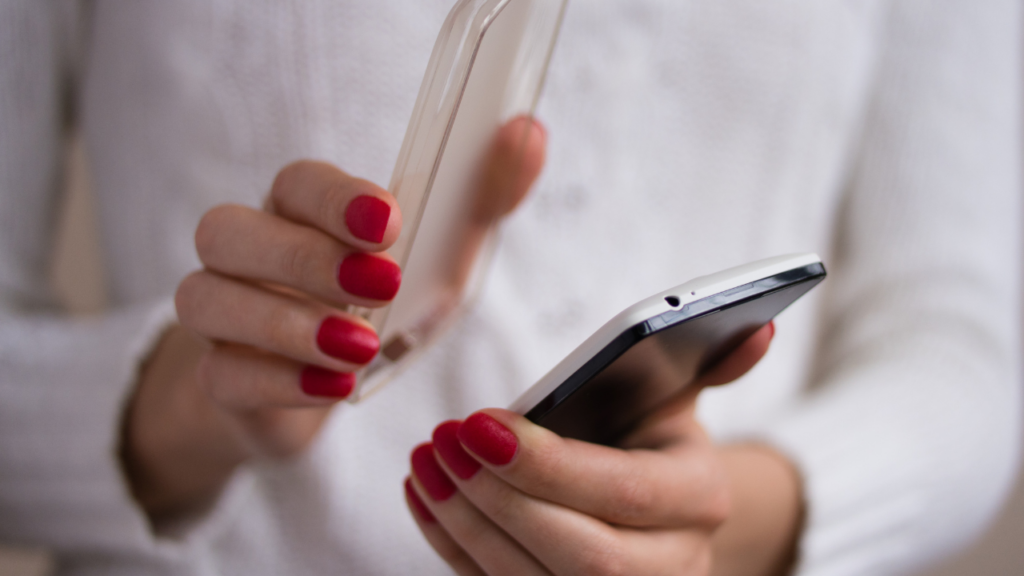
Step 2: Remove the Phone Case

If your phone has a protective case, remove it. Cases can also harbour dirt and bacteria and should be cleaned separately.
The Cleaning Process
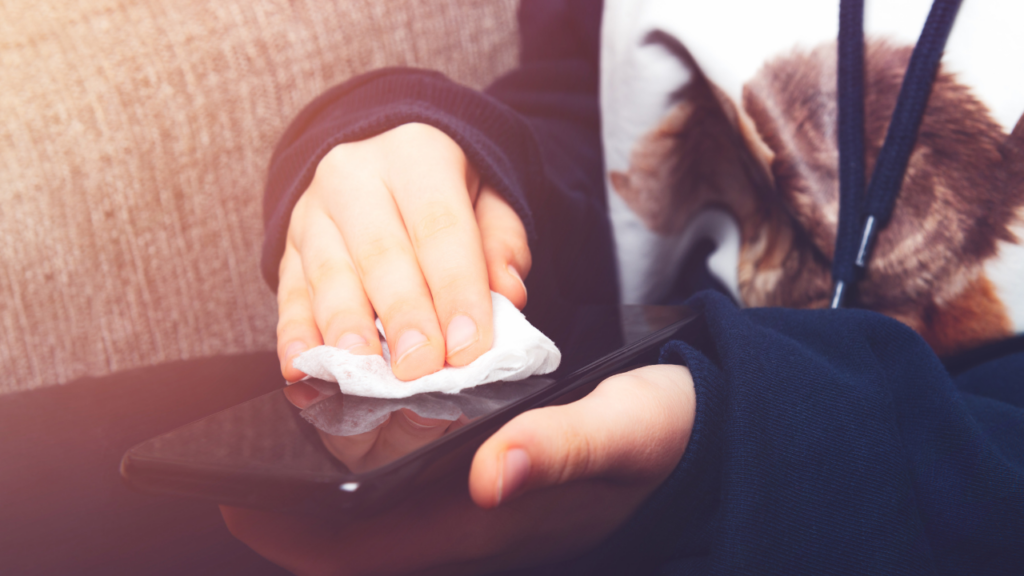
Step 3: Wipe the Screen and Body
Begin the cleaning process with a dry microfiber cloth. These clothes are perfect for mobile devices as they can attract and hold dust and grime without scratching the screen or body of the device. Gently wipe down the screen and body of the phone to remove any surface dust, smudges, or fingerprints.
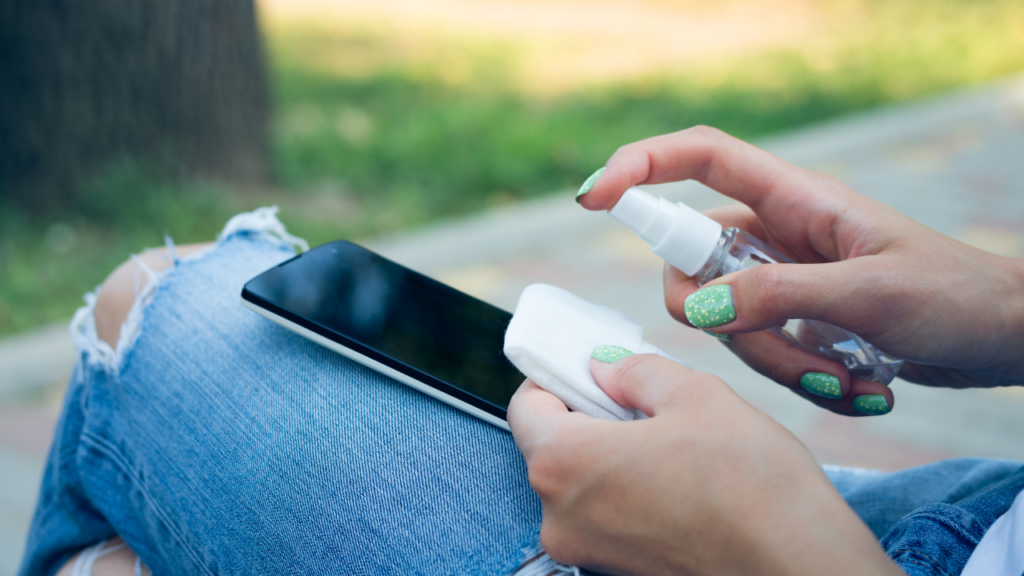
Step 4: Prepare a Cleaning Solution
While many grimes can be removed with a dry cloth, you’ll need a cleaning solution for a deeper clean. Create a 50/50 mix of isopropyl alcohol and distilled water. Isopropyl alcohol is ideal for cleaning electronics due to its rapid evaporation and antibacterial properties. However, it’s essential not to use a solution stronger than this, as it could potentially damage the oleophobic (oil-repellent) and hydrophobic (water-repellent) coatings on your phone’s screen.
Step 5: Dampen the Cloth

Dip a corner of the microfiber cloth into the cleaning solution. It’s important to dampen the cloth rather than making it soaking wet, as excess liquid could seep into the phone and cause damage.
Step 6: Clean the Phone

With the dampened cloth, gently clean the screen and the body of the device. Remember to avoid the ports and buttons as much as possible to prevent liquid from seeping into these vulnerable areas.
Step 7: Clean the Crevices
For stubborn grime in the phone’s crevices or around the buttons, you can use a dry cotton swab or a toothpick. Be gentle and careful not to apply too much pressure, as this could damage the device.
Step 8: Dry the Phone
Once the phone is clean, dry it thoroughly with a fresh microfiber cloth. Ensure the device is completely dry before turning it back on to prevent any internal short circuits.
Cleaning the Phone Case
Step 9: Clean the Case
Your phone case can accumulate just as much grime and bacteria as your phone. Clean it inside and out using the same cleaning solution and cloth, then dry it thoroughly before replacing it on your phone.
Key Points to Remember
While this process can significantly improve the cleanliness of your phone, there are a few key points to remember. Never spray any cleaning solution directly onto your phone, and avoid using abrasive materials that might scratch the surface. While you should regularly clean your phone, especially during health crises, overcleaning could potentially damage your device.
If your phone is particularly dirty or you’re worried about damaging it, consider seeking professional help. Some companies specialize in deep cleaning mobile devices and have the tools and expertise to do so without causing damage.
Maintaining a clean mobile phone is more than just an aesthetic preference – it’s a matter of device longevity and personal hygiene. Regular cleaning lets you keep your phone in tip-top shape and create a healthier environment for your daily digital interactions.


